
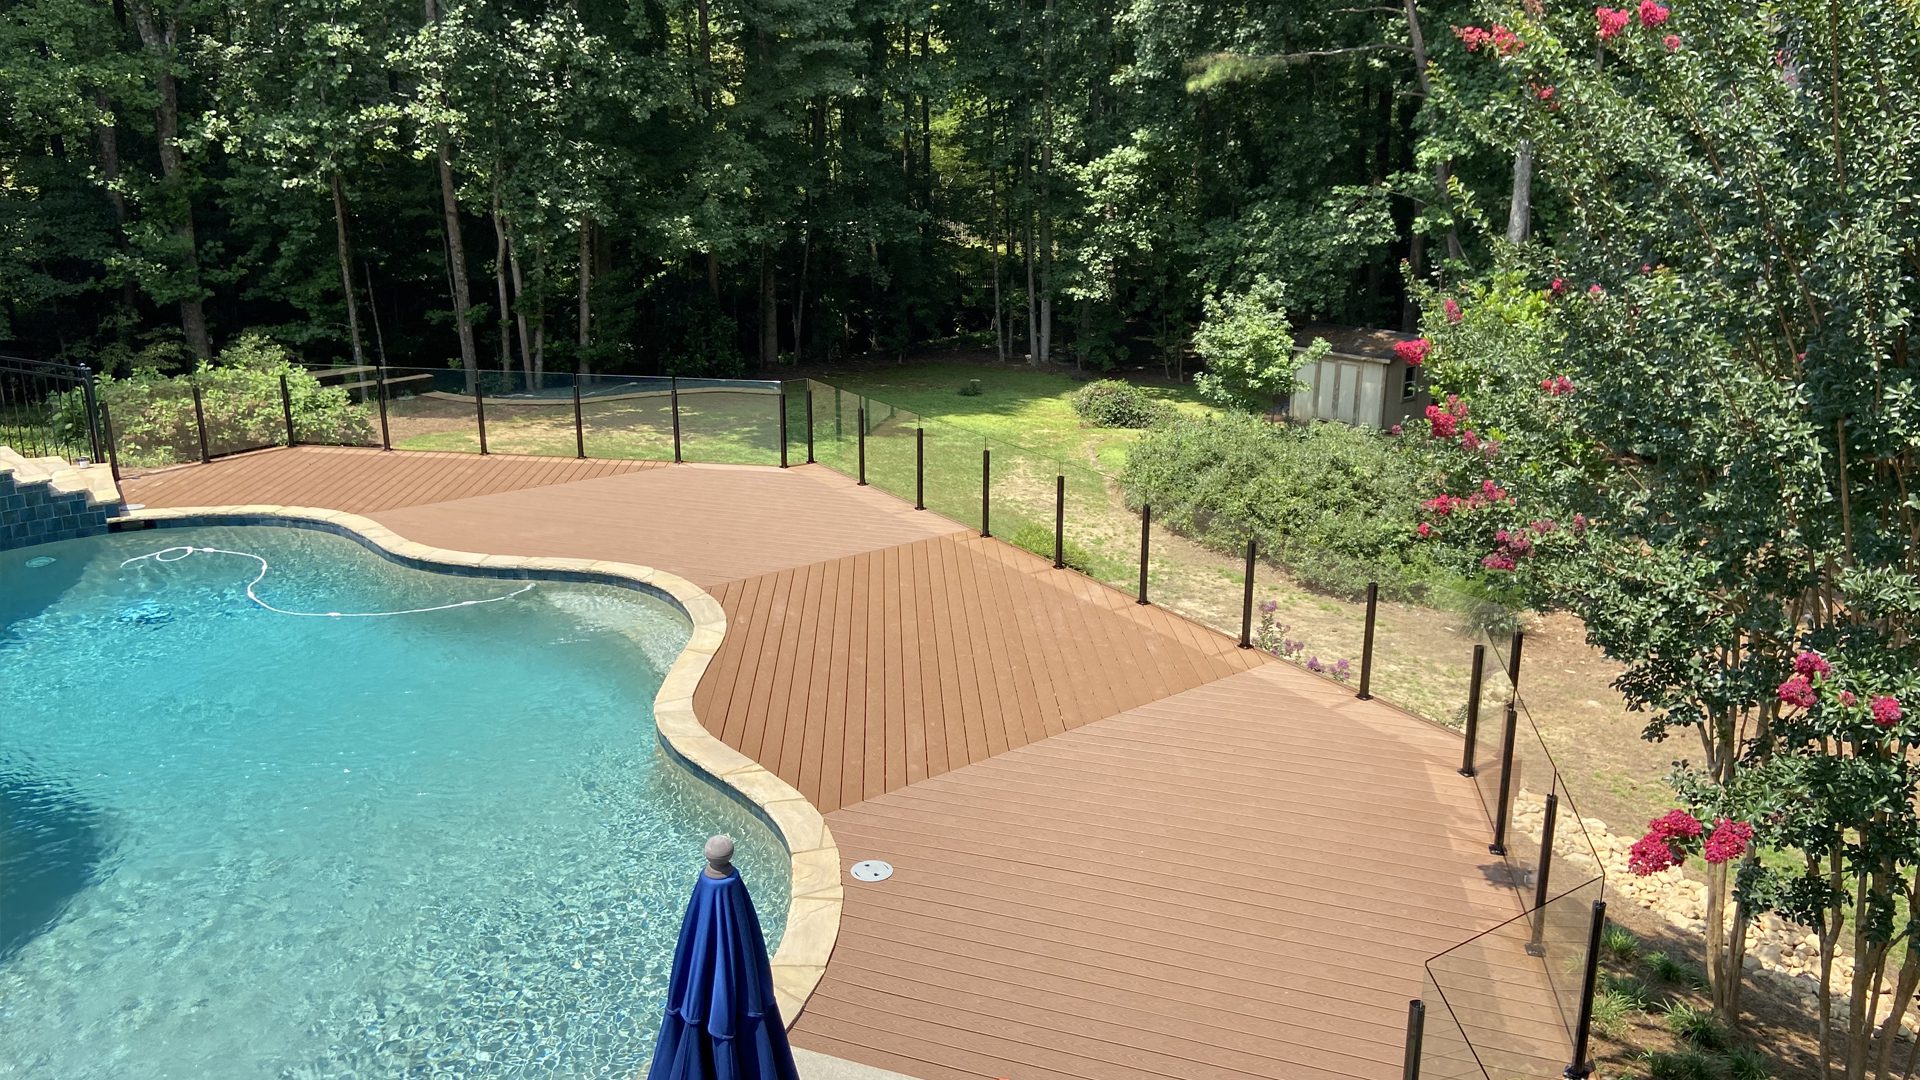
Yes. With the right system, the right measurements, and the right preparation, a motivated homeowner can absolutely complete a professional-quality glass railing installation. The key word in that sentence is “system.” Not all glass railing products are designed with the DIYer in mind. Some require custom top-rail fitting, precise bottom-channel work, and professional-grade tools. A frameless glass deck railing system engineered for homeowner installation removes those complications entirely.
Why the “Topless and Bottomless” Design Changes Everything
Traditional railing systems require a top rail and a bottom rail to hold the glass in place. That sounds straightforward, but it introduces two of the biggest failure points in any DIY project: precise miter cuts on the rail ends and perfectly level channel alignment across the full run of the deck.
A no top rail glass railing system eliminates both. The glass panels sit inside purpose-built posts with rotating gaskets that adjust up to 45 degrees in either direction. There is no top rail to cut. There is no bottom channel to level. You set the posts, drop the glass in, and tighten. The result looks like it was engineered into the home from day one.
Did You Know?
Most DIY glass railing failures are not caused by the installer making mistakes. They are caused by the product being designed for professional fabricators. A system built specifically for homeowner installation eliminates the majority of those failure points before you even pick up a drill.
The Two Systems: Choosing the Right One for Your Project
Before you order, you need to understand which product matches your space.
The Standard System
This outdoor glass railing system uses inline, corner, end, and wall mount posts to handle virtually any deck configuration. The rotating gaskets in each post allow the glass to pivot to match your angles, so a non-standard corner is not a problem. This is the workhorse of the lineup and the most popular choice for residential decks and patios.
The Infinity System
The frameless infinity glass railing uses a 24-inch square post with a half-inch profile, delivering 12 to 18 inches of uninterrupted glass below the top of the panel. It is the choice when you want to push the “invisible railing” concept as far as it can go and maximize the view to the horizon.
Pro Tip: Match the System to the View
If your primary goal is an unobstructed panoramic view, choose the Infinity System. If you have a complex deck layout with multiple corners and angles, The Standard System’s adjustable post gaskets give you much more flexibility during installation.
Measure Once, Order Right: Using LightningCAD Before You Buy
The single most important step in a successful DIY installation happens before a single post is driven. Getting your measurements right determines everything that comes after.
This is exactly what the free online glass railing designer was built for. Rather than estimating your material list on a notepad, you input your actual deck dimensions into the engineering tool and it calculates exact post placements, glass panel dimensions, hardware requirements, and necessary glass deductions for your specific substrate. The output is a professional blueprint you can hand directly to your local contractor or use to guide your own installation.
Little Known Fact
The most common measurement mistake in glass railing installation is not accounting for glass deductions — the small amount of space the hardware takes up inside the post. If you order panels sized to your raw opening, the glass will not fit. The LightningCAD tool calculates these deductions automatically, so every panel arrives ready to drop in.
What Arrives at Your Door
When you shop glass railing posts, each post ships with the hardware needed for installation. The glass panels are best ordered through a glass railing dealer near you or directly from the national distribution center. Because the glass is custom-cut to your blueprint dimensions, sourcing it alongside your post order ensures every measurement is coordinated.
The posts themselves are finished with a high-quality polyester powder coat and aluminum construction that is naturally corrosion-resistant. Whether your project is in a coastal climate, a humid southern summer, or a freeze-thaw environment, the hardware is engineered to hold up without refinishing or replacing.
The Actual Installation Process
The DIY glass railing installation process follows a straightforward sequence.
Step One: Post Placement
Using your blueprint, mark and drill the post mounting locations on your deck surface. The posts are designed for wood, concrete, and steel substrates, with the appropriate hardware provided for each. Getting this step right is where the blueprint earns its value. Precise post spacing means every glass panel will fit exactly as engineered.
Step Two: Insert the Glass Panels
With the posts secured, the tempered glass panels slide into the rotating gaskets inside each post. The gaskets grip the glass firmly while allowing micro-adjustments for any slight variation in your surface level. There is no top rail to thread through and no bottom channel to align. The glass simply drops in and locks into place.
Step Three: Tighten and Verify
Once the panels are seated, tighten the hardware to spec and do a visual inspection across the full run. The gasket system provides a small margin of adjustment even at this stage, so minor alignment corrections can be made without pulling any glass.
Pro Tip: Wear Clean Cotton Gloves When Handling Panels
Fingerprints baked onto glass during a warm installation day can etch into the surface over time. A pair of clean cotton gloves during panel insertion costs almost nothing and keeps your glass looking factory-new on day one.
Will It Pass Inspection?
Building codes for deck railings vary by municipality, but most residential codes require a minimum 36-inch railing height for decks under 30 inches off the ground and 42 inches for elevated decks. Tempered glass is widely accepted by inspectors as a compliant infill material. Before you finalize your post height selection, check your local residential building code or pull the permit requirements from your municipality’s website. If you have questions about code compliance for your specific project, the glass railing code compliance guide on our FAQ page covers the most common questions in detail.
Frequently Asked Questions
Do I need any special tools to install glass railings myself?
No specialized tools are required. A drill, a level, a tape measure, and standard hardware bits cover the vast majority of installations. The post mounting hardware is designed for standard residential fasteners, not trade-specific equipment.
What happens if I measure wrong and the glass doesn’t fit?
This is the fear that stops most DIYers, and it is why using a glass railing design tool before ordering is so important. Every blueprint is reviewed by the Falcon Railings technical team before production begins. If something looks inconsistent with your measurements, they contact you to verify before a single panel is cut.
Can I install glass railings on an existing deck, or only new construction?
Glass railing posts can be installed on existing deck structures. The key variable is the condition and structural integrity of your existing framing and decking surface. As long as the substrate is sound, a retrofit installation is entirely feasible.
Is the glass safe around children and pets?
Yes. The tempered glass panels used in standard and infinity glass railing systems are four to five times stronger than standard glass. Because the panels are solid with no gaps or pickets, there are no openings for children or pets to get through or stuck in. In the rare event of a break, tempered glass fractures into small, blunt pieces rather than sharp shards.
How do I keep the glass clean after installation?
A soft cloth with mild dish soap and water handles routine cleaning. For exterior installations, a hydrophobic glass coating applied after installation causes rain and moisture to bead off the surface, significantly reducing how often the glass needs attention. Unlike wood, you will never need to sand, stain, seal, or repaint any component of the system.